Showing posts with label Aiden's Nursery. Show all posts

Monday, December 8, 2014

Aiden's Nursery {room tour}

I'm so excited to finally be sharing Aiden's nursery with you! This room was a team effort by my husband and I and we had so much fun dreaming of having our baby boy grow up in this room. We wanted to incorporate some of the old treasures from our house like the little red lantern, the rocking horse I had as a little girl and the telescope that Drew's Dad used as a kid, but we also wanted to add some modern touches as well. We didn't want anything to be too themed so we used patterns and textures and kept it simple with neutral wall colors.

Since Drew and I love the outdoors and hope Aiden will too we decided to add some woodland creatures to the room as well to add some pops of color. All the art work was done by my very talented sister in law!

The dresser and changing table belonged to Drew's Dad. Drew stripped the paint and stained them and we added new handles. I love how they turned out and am proud of my husband for persevering when I was ready to kick these pieces to the curb. This room was definitely a labor of love and we are thrilled with how it turned out!

Here is a little tour of Aiden's nursery...

Crib // IKEA
Kid's Table // IKEA 
Kid's Chairs // IKEA
Dresser // Old, Refinished
Changing Table // Old, Refinished
Fox and Raccoon Stuffed Animals // The Happy Groundhog
Book Shelves // IKEA Spice Racks (stained)
Toy Basket // HomeGoods
Rug // PotteryBarn Outlet
Changing Table Cover // Modfox
Curtains // Target
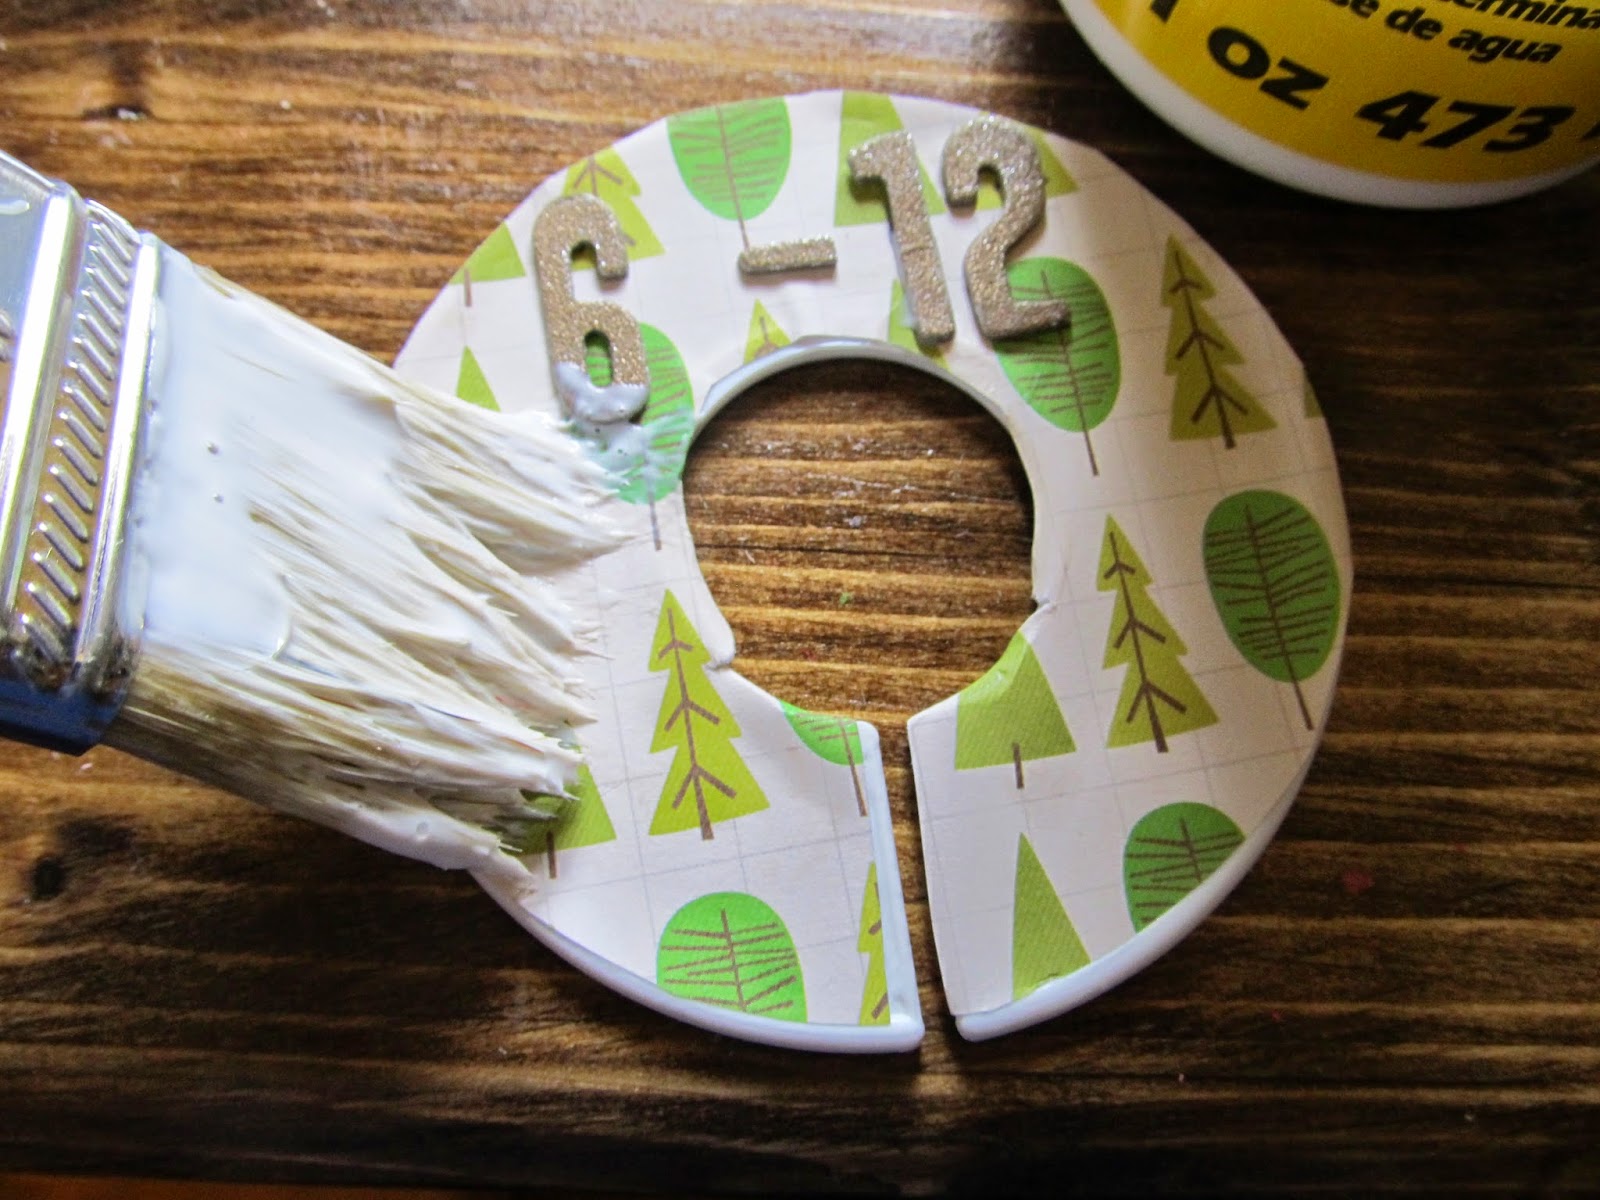
Closet Dividers // DIY
Crib sheets // Target
Wooden Measuring Stick // DIY
Log Side Table // DIY
Mobile // DIY {Tutorial coming soon}
Woodland Animal Wall Art // Hand Painted by my sister in law
Recliner // Costco
Fox Clock // Modern Moose
Canvas Baskets in closet // Walmart
Chalkboard Tags // Michael's dollar bin

When we have more time I also plan to have my husband make me some more Honeycomb shelves to add to the wall above the recliner. If you want an awesome tutorial for how to make some yourself, click here.

Friday, September 12, 2014

Nursery Project {Log side table}

One of the first images I pinned on Pinterest when I was working on my board for Aiden's nursery was a log turned into a side table. I knew instantly I wanted to make one for our nursery so with the help of my handy husband we made it happen and you can too!

Start by finding a log that is the right size for your side table. I measured my recliner to see what would be a good height log to put next to it.

Use a Draw shaving tool or hatchet to shave off the bark from your log.

Sand down the sides and if you want a distressed look sand the top as well.

Then add Polyurethane. We used 3 coats on the sides and 4 or 5 coats on top since liquids would be resting on it.

Last, we added felt pads on the bottom of the log so that the log wouldn't scuff up our hardwood.

I love how this project turned out and I've already used it several times as a spot to set my drink or my iPhone while I'm reading in the recliner. Not too much longer and I'll have my hands full...literally!
Linking up with Anne for Pin-to-Present!

Monday, September 1, 2014

Nursery Project {Closet Dividers}

Happy Labor Day! You wouldn't believe how many labor jokes and references you hear when you are pregnant during this holiday. It cracks me up. So I figured it was only fitting to share something somewhat labor/pregnancy related today, but let's be honest I have not posted anything other than these topics for months now.

One of the first projects I started on for Aiden's nursery were these closet dividers. They were cheap and simple and something I knew I could do in one sitting even before I had the rest of the nursery planned out. I was also itching to hang up some of the adorable outfits in the closet and knew I needed a way to be organized.

What you'll need:
-6 Closet Dividers (I got mine at the Container store for 99 cents each)
-Scrapbook paper (1-2 sheets)
-Scissors
-Pencil
-Mod Podge
//Start by gathering your supplies and picking out paper you want to use as your background.
//Then turn the paper over so it is blank side up and trace the inner part of the closet divider. I found this more difficult than some of the tutorials I saw. If you can't simply trace the inside of the closet divider just trace the whole thing and then go back and trim the excess paper or fold down when you use the Mod Podge towards the end.
//Cut out your paper and fit it to the closet divider. I used stickers to label each one so make sure to put those on before Mod Podge-ing as well.
//Add a coat or two of Mod Podge folding down any excess paper as you go.  Allow each one to dry completely before attempting to use.
//Hang closet dividers on a closet bar and use them to organize your adorable baby clothes!

I ended up using the following labels for my dividers, but feel free to use the ones you think you will actually use: New Born, 0-3, 3-6, 6-12, 12-18, 18-24

Happy organizing!